How to make 3D text in Illustrator
The fastest built-in way is Effect › 3D and Materials › Extrude & Bevel: select the type, set a depth and pick a rotation preset. It stays live text, but the surface is a rendered image: expanding it gives you a raster picture, not vector walls. For vector faces use the older 3D (Classic) › Extrude & Bevel (Classic) effect and expand it, or the JuicyType 3D effect below, which builds clean vector walls with hidden lines removed on live text.
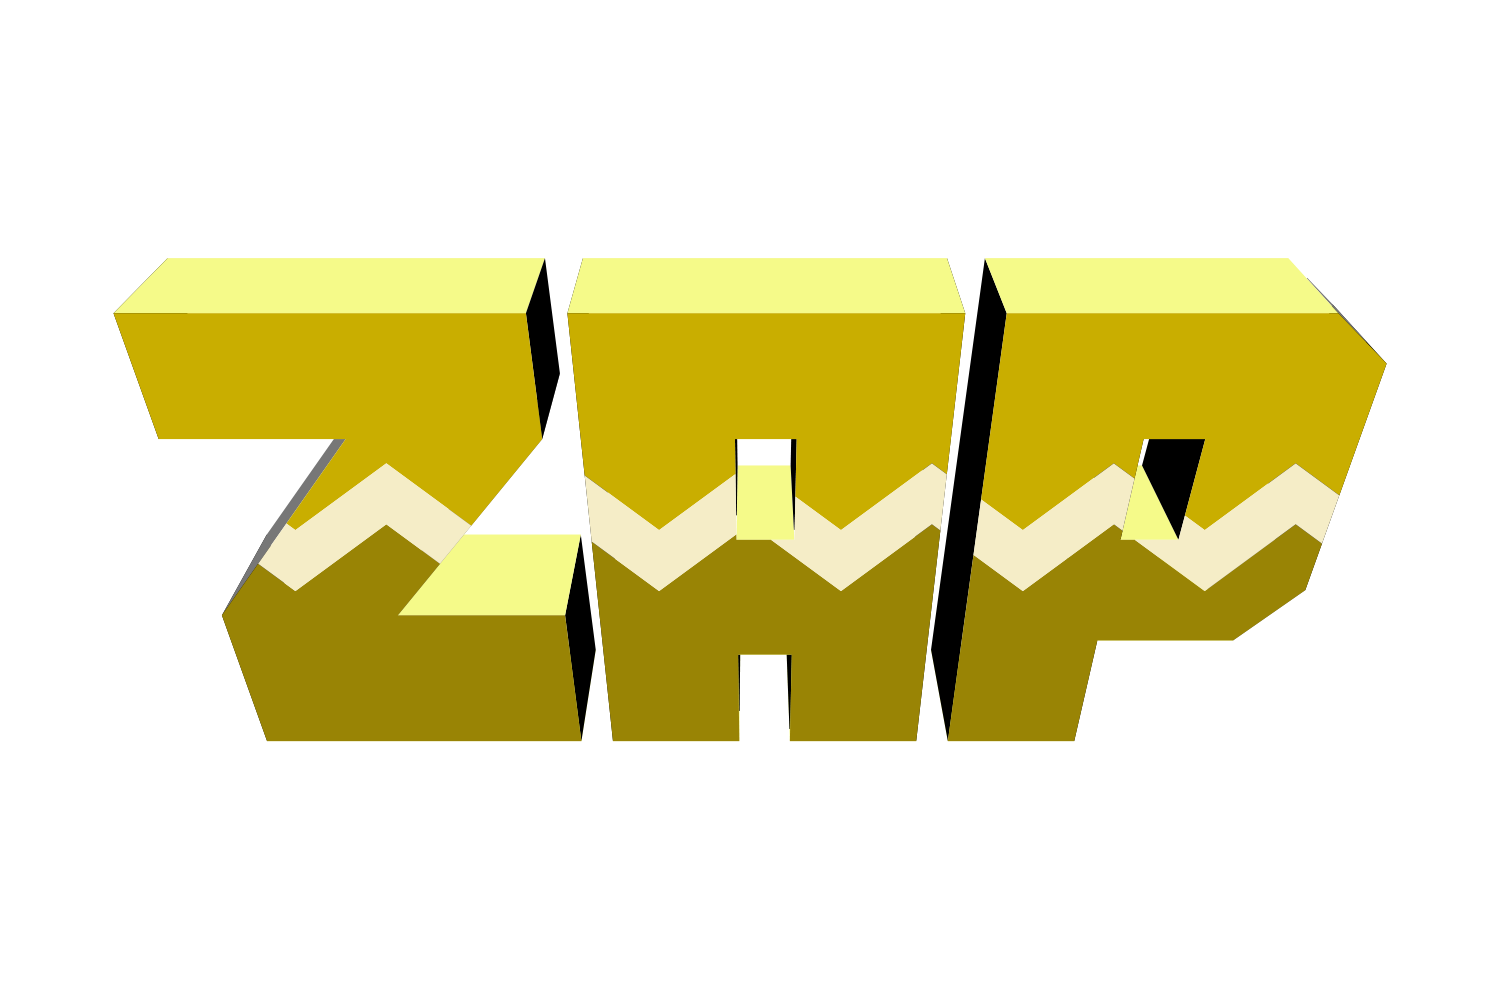
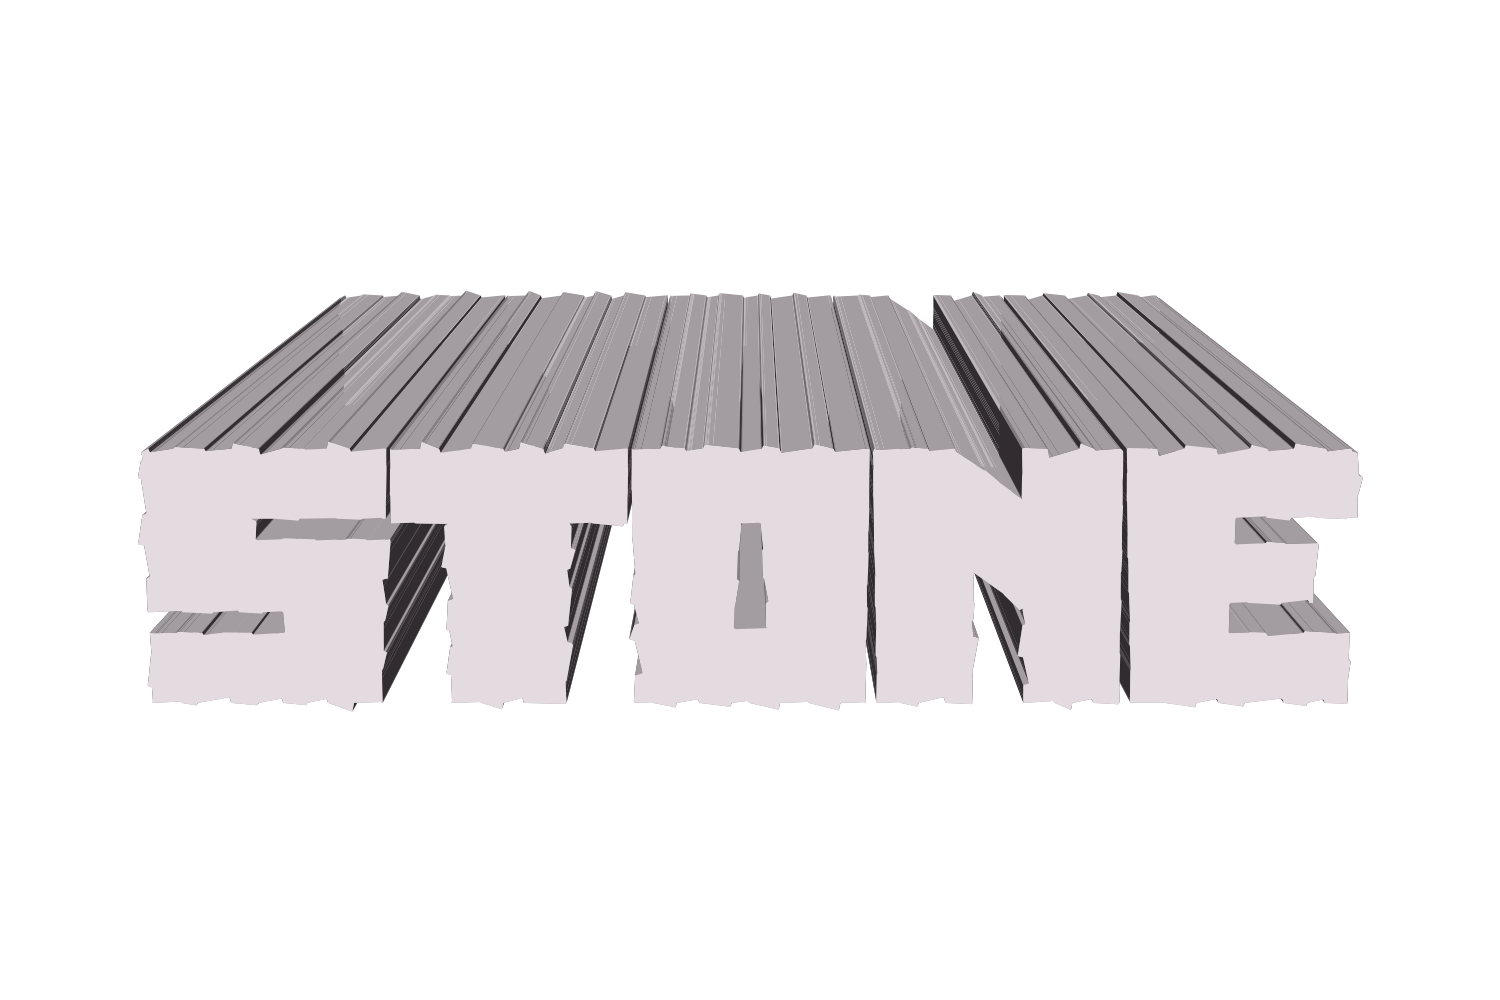
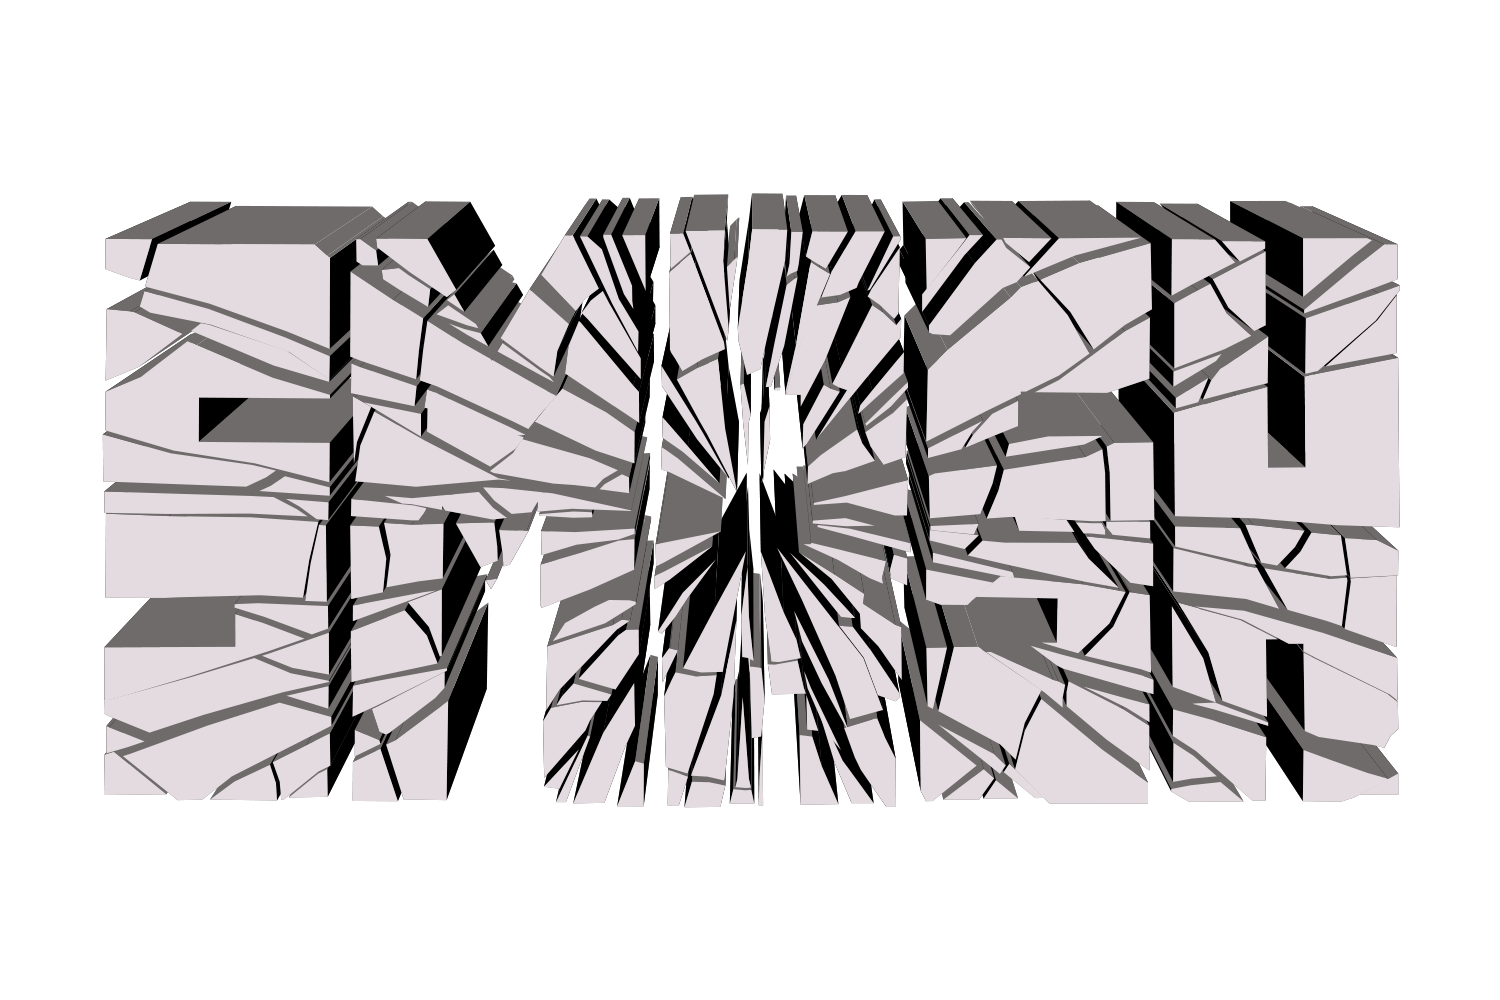
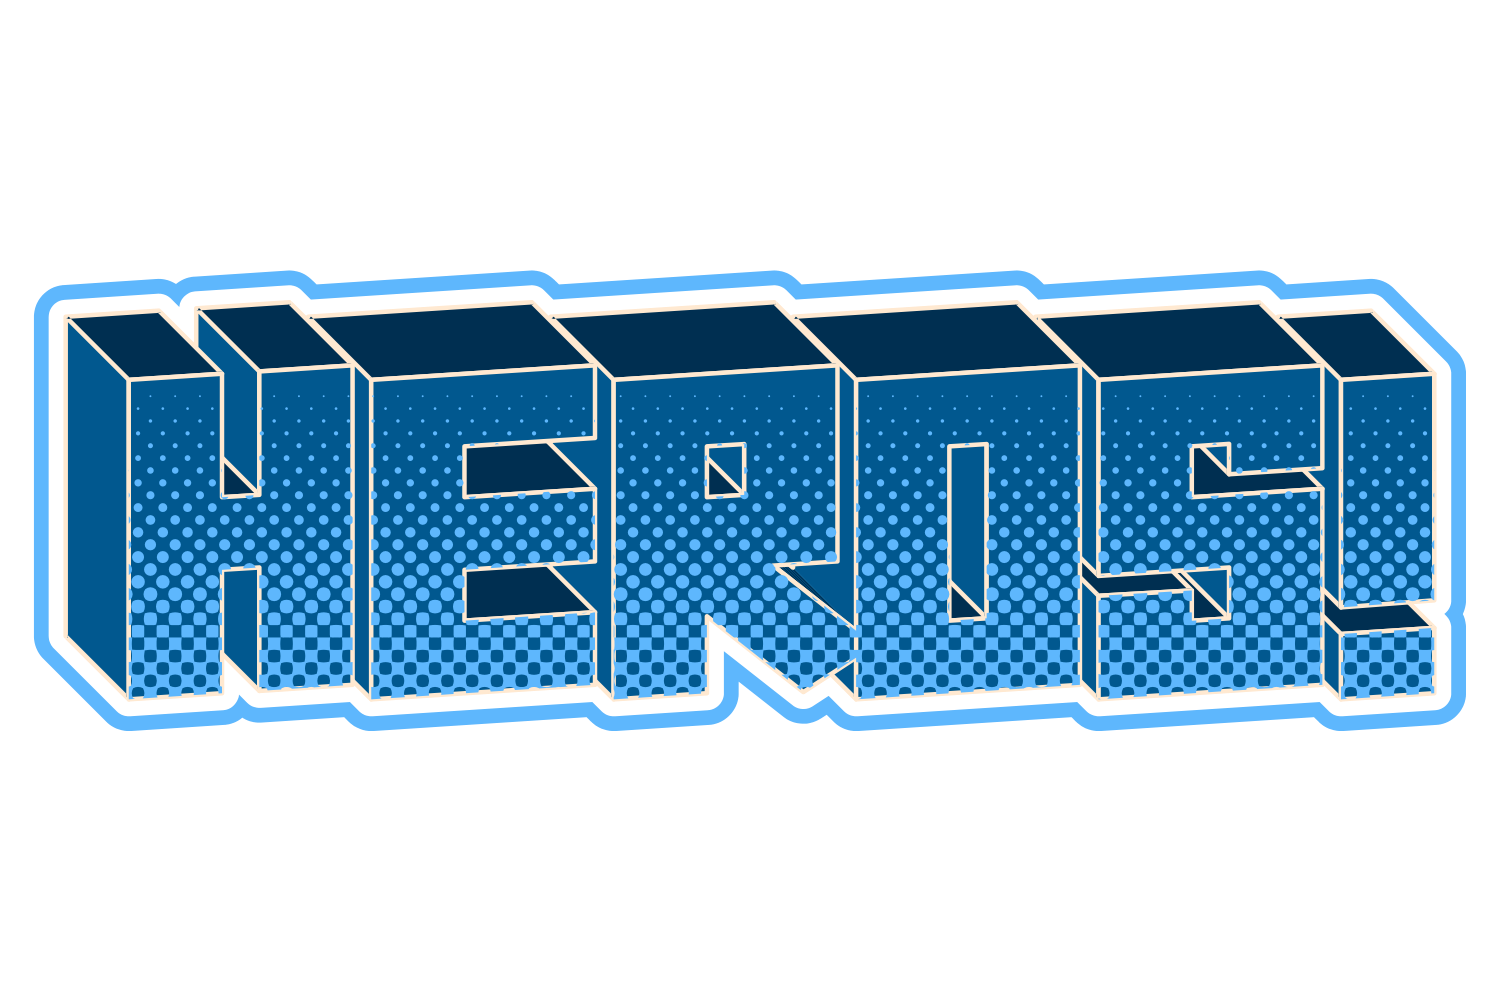
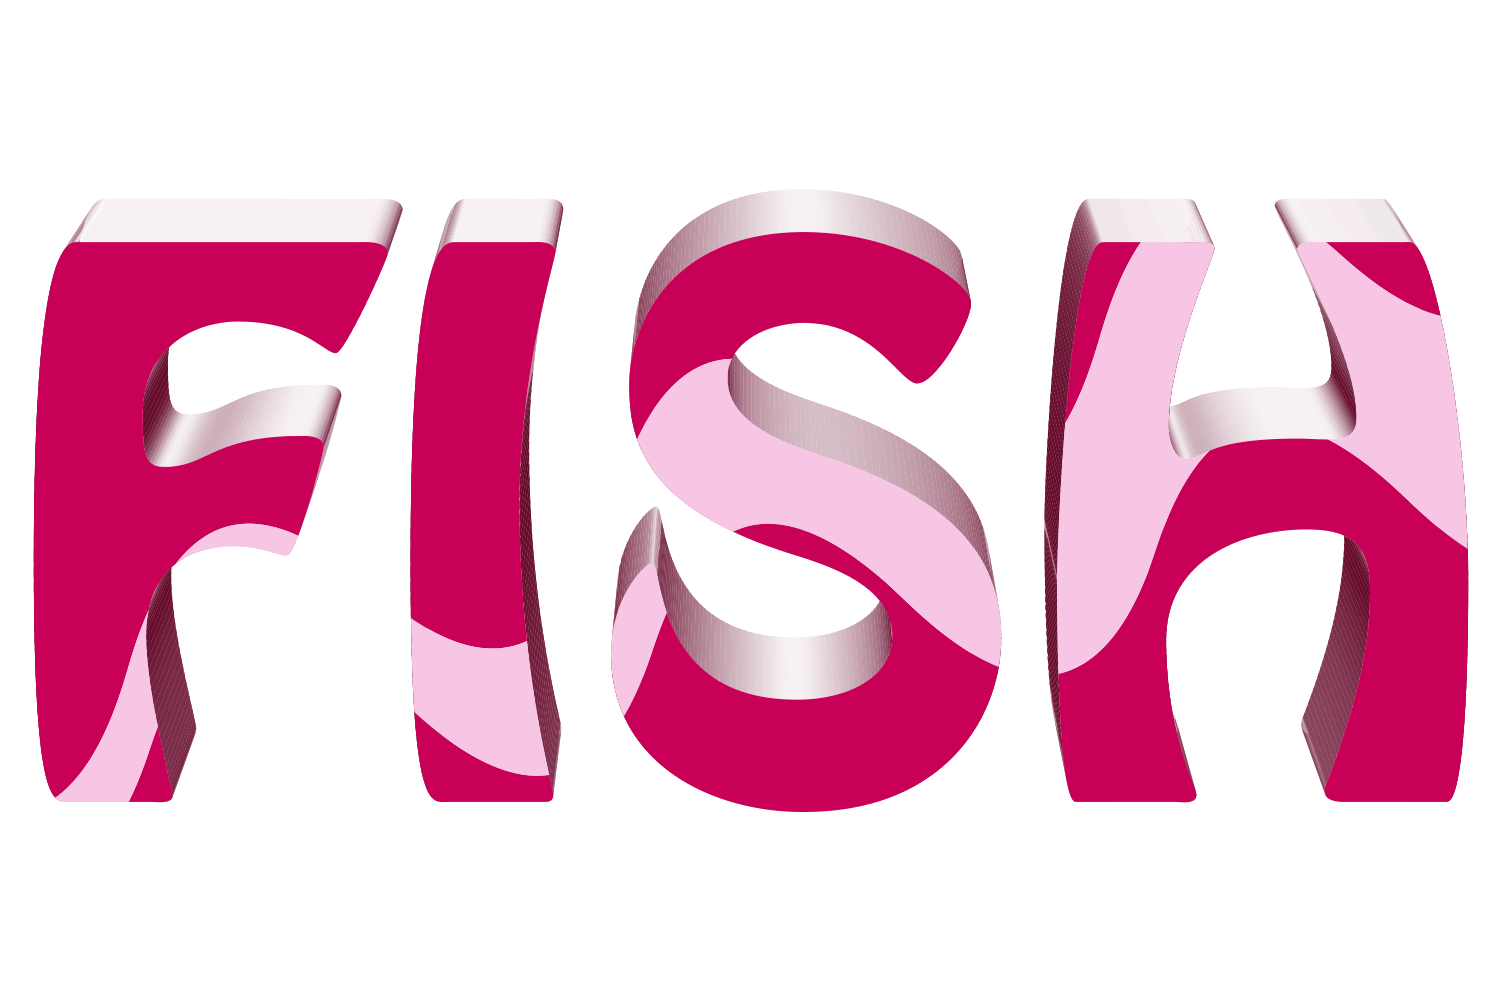
The manual way, in Illustrator
- Select the text with the Selection tool. Don't outline it.
- Go to Effect › 3D and Materials › Extrude & Bevel. The 3D and Materials panel opens on its Object tab.
- Set Depth, then pick a Rotation preset (Off-Axis Front, the Isometric presets) or type X, Y and Z angles. Shading lives on the Lighting tab. Leave Render with Ray Tracing off while you work; it is slow.
- If you need vector, use Effect › 3D and Materials › 3D (Classic) › Extrude & Bevel (Classic) instead, then Object › Expand Appearance and ungroup as needed: you get real vector faces. Expanding the new effect gives a raster image; Expand as wireframes gives paths for the edges only.
The 3D and Materials effect renders its surface as an image. Object › Expand Appearance keeps that raster whether ray tracing is on or off, and a 2D export to PDF or SVG carries the render as an embedded image (PNG is raster anyway); check the export at the size you need. Only the Classic effect expands to vector faces, and those come with banded shading and nested groups.
Menu paths checked against Adobe's current Illustrator documentation; hands-on verification and screenshots are still to come.
3D with JuicyType
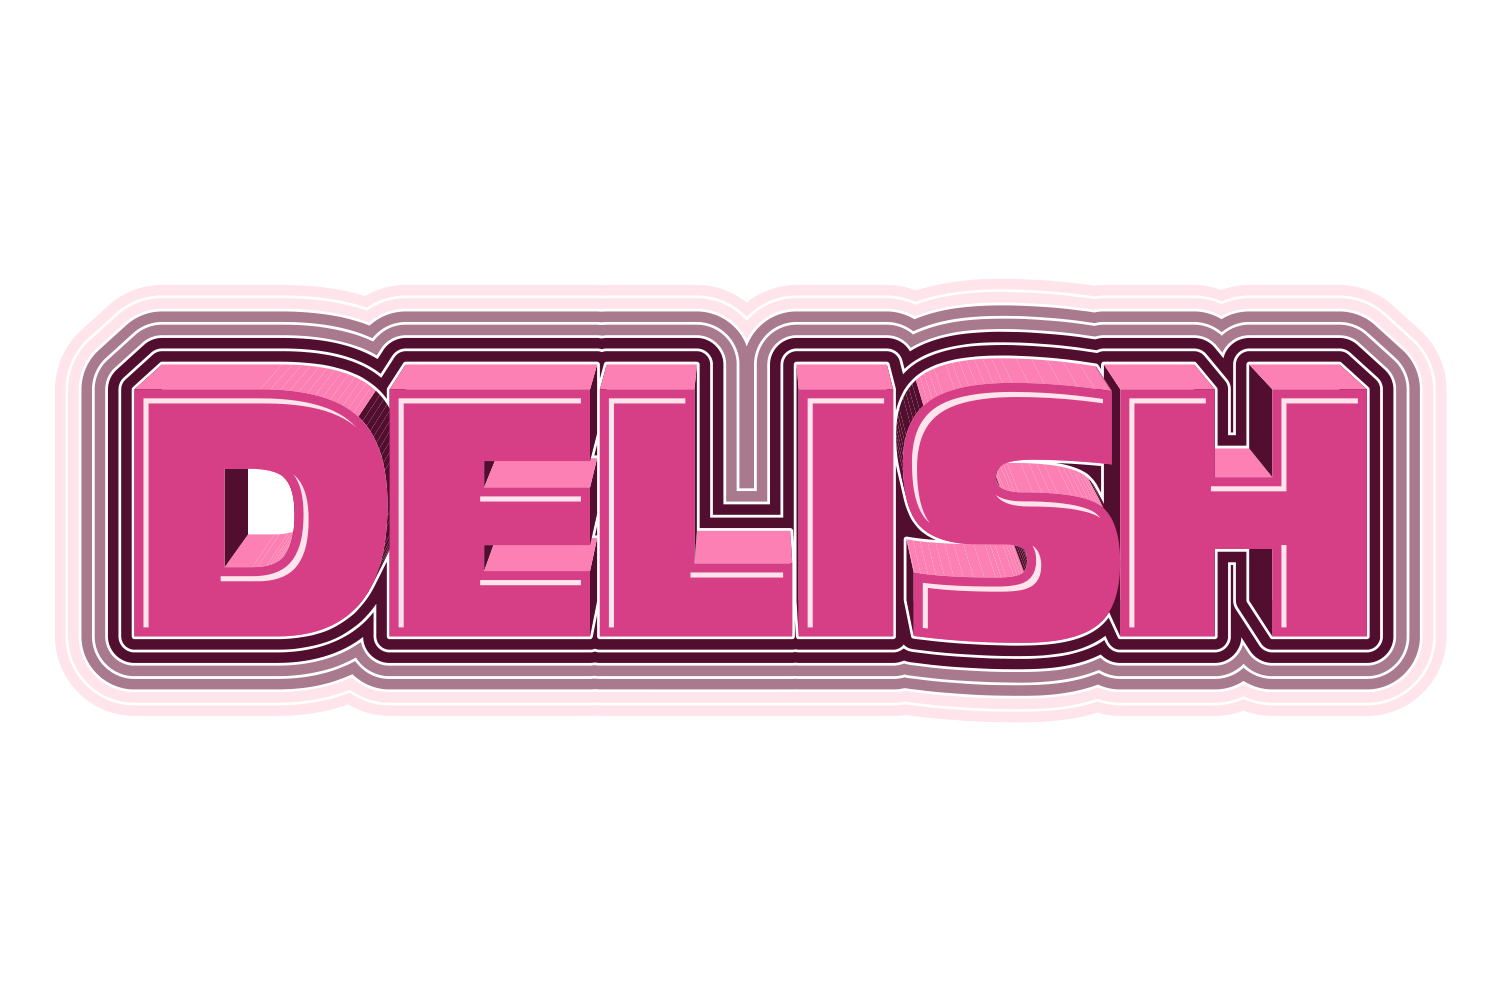
Select the text, open the JuicyType panel, choose 3D, and drag. It is a live effect, so the text stays editable and every control can be changed later.
- ModeOverall outside / Individual strokes / Fill alone
- Depth0–400 pt
- Top, side and slope wall coloursAuto / #EEE / #AAA / #777 / #444 / #111 / None; or a document spot
- Extra extrusion layersup to 10, each with its own width 0–400 pt and three colours
- Direction0–360°, default 30°
- Tilt−10 to 10
- Boom−50 to 50
- Focal length0–1000, perspective
- Extrusion stroke0–20 pt, colour, Apply to face as well, Taper 0–20 (default 5), Stroke only
- Slope styleColor / Gradient / Comic / Split
- Preserve spot colorson/off
Common questions
Does the text stay editable?
Yes with the built-in effects and with JuicyType. All are live effects: retype the word and the extrusion follows. Editability ends only when you expand.
Can I change the angle after?
Yes. Reopen the effect from the Appearance panel, or drag Direction in the JuicyType panel.
What about the Blend and Transform-effect methods?
Blend: duplicate the type, offset the copy, and choose Object › Blend › Make with roughly 100–200 specified steps. It stays editable: recolour the walls by recolouring the two end objects, and use Object › Blend › Expand only when you need to edit the in-between steps. The files get heavy. Transform effect: add a fill below in the Appearance panel and apply Effect › Distort & Transform › Transform with a 0.5 px move and a few hundred copies. That one stays fully live, but diagonals show stair-steps.