How to make retro text in Illustrator
Retro type is usually a bold face, a stacked or offset 3D shadow, stripes across the letters and a rough texture. Build it with extra fills and the Transform effect in the Appearance panel. JuicyType gets there with 3D (its extra extrusion layers give the stacked look), Pattern Slice and Strokes on live text.
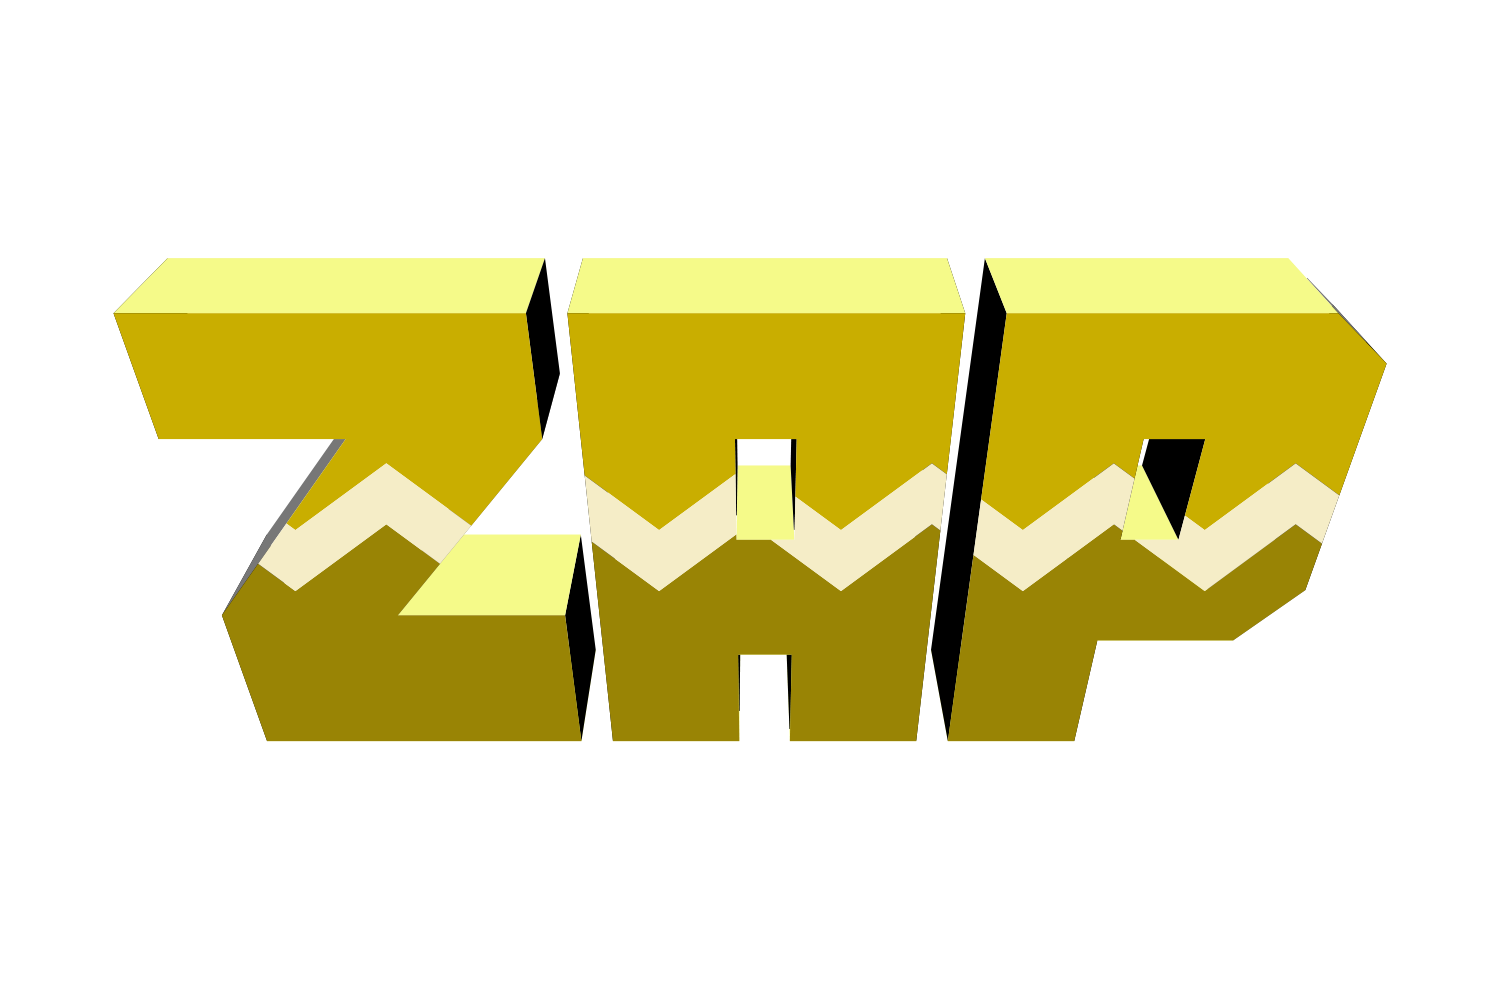
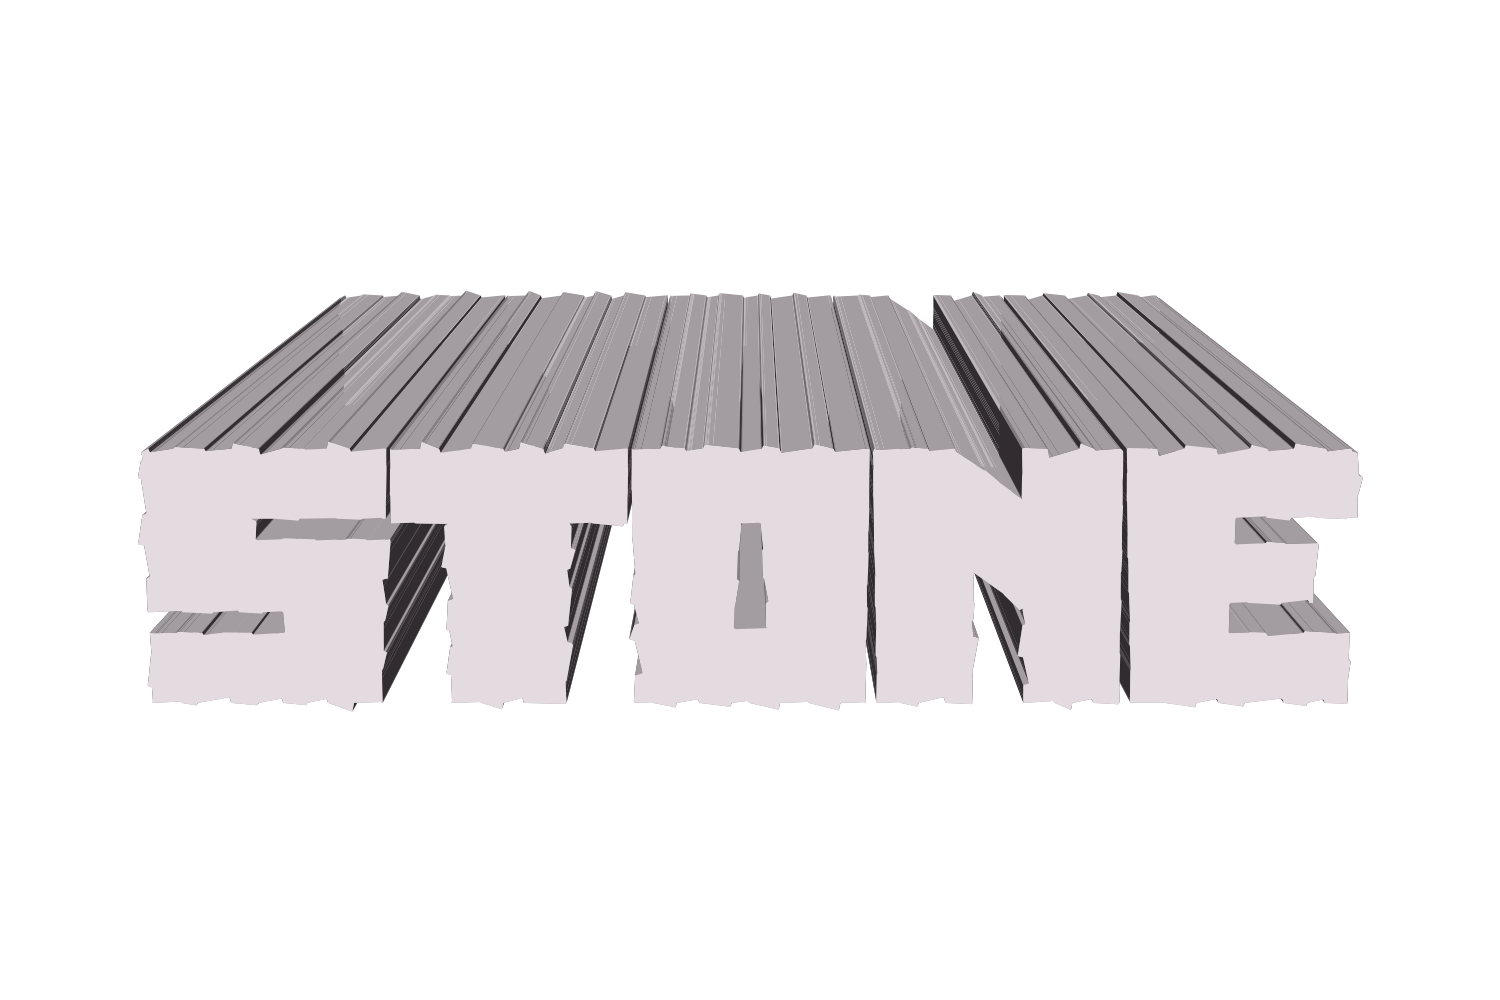
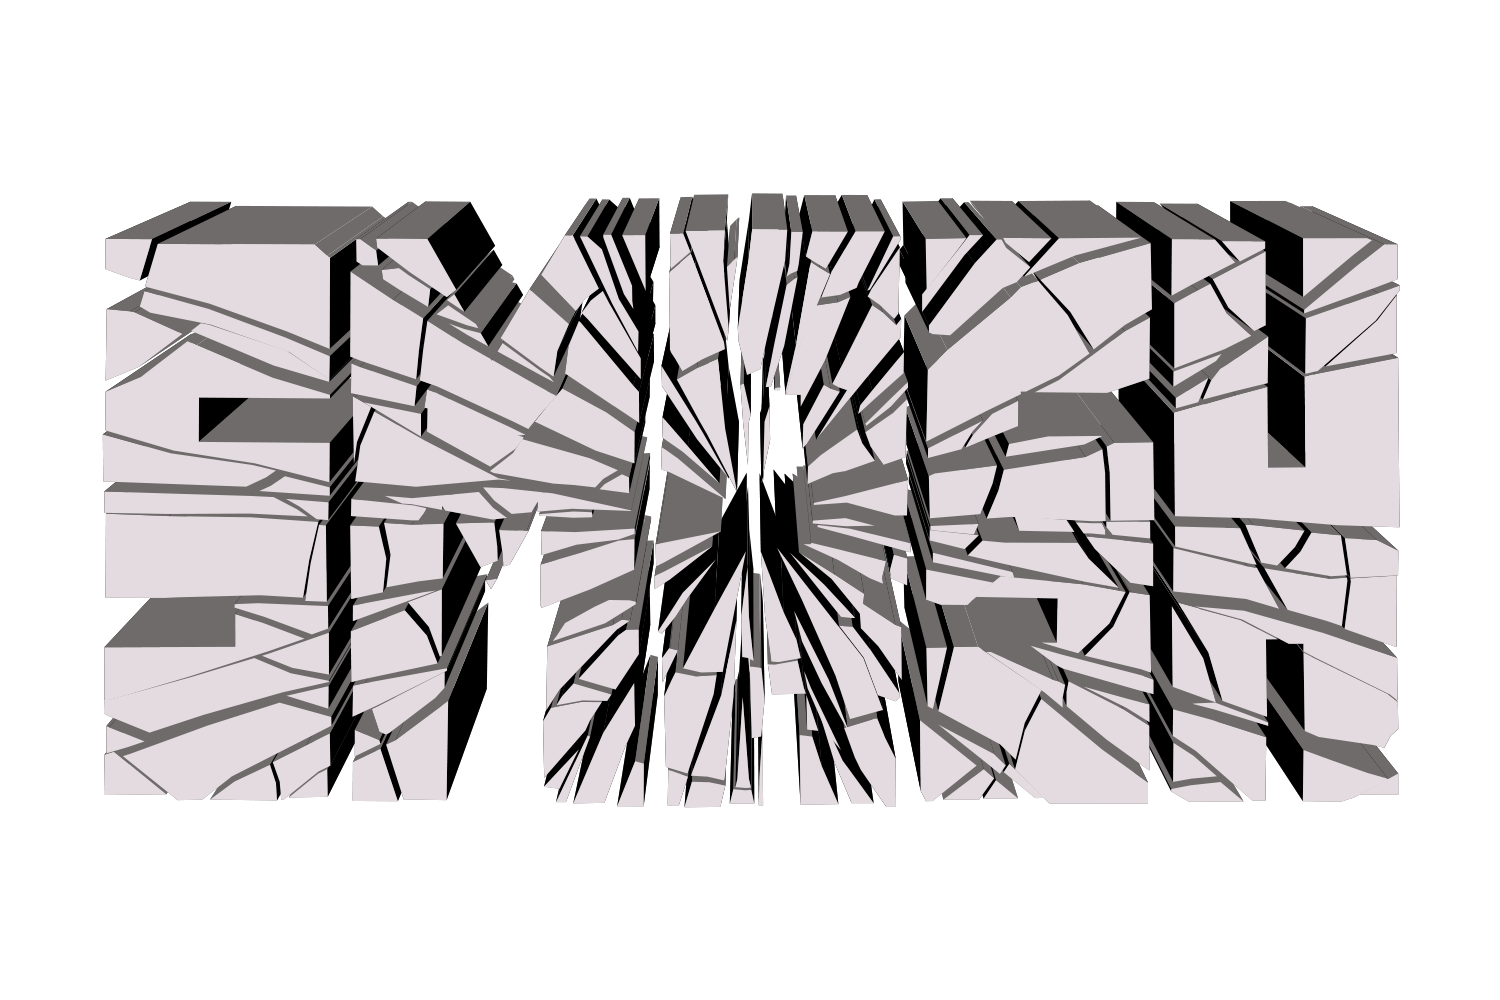
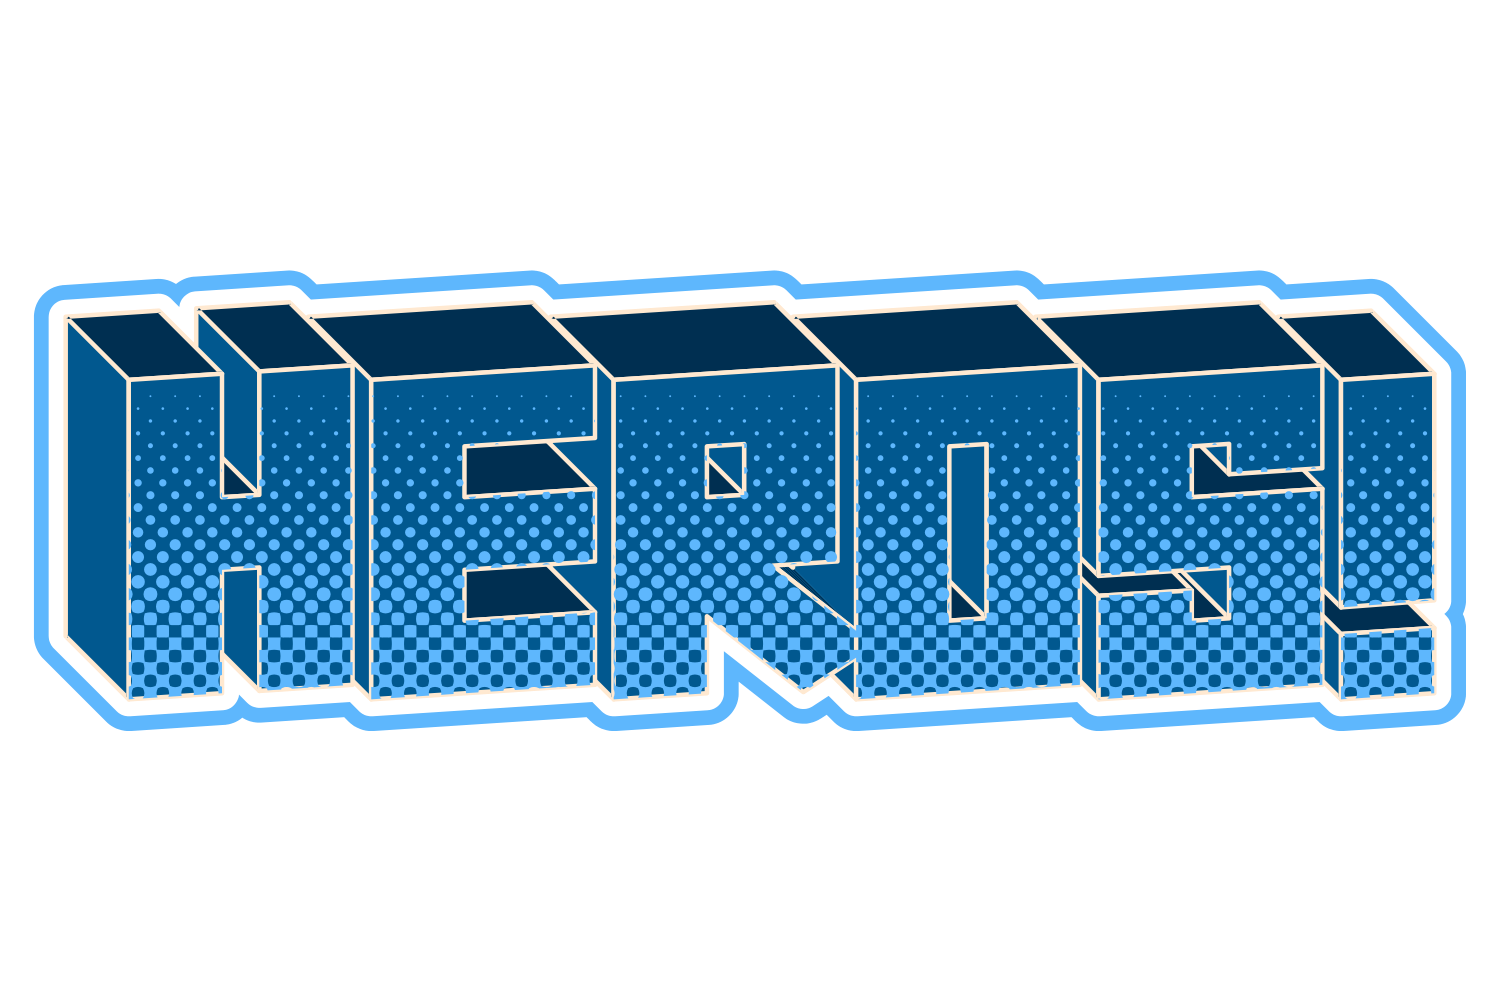
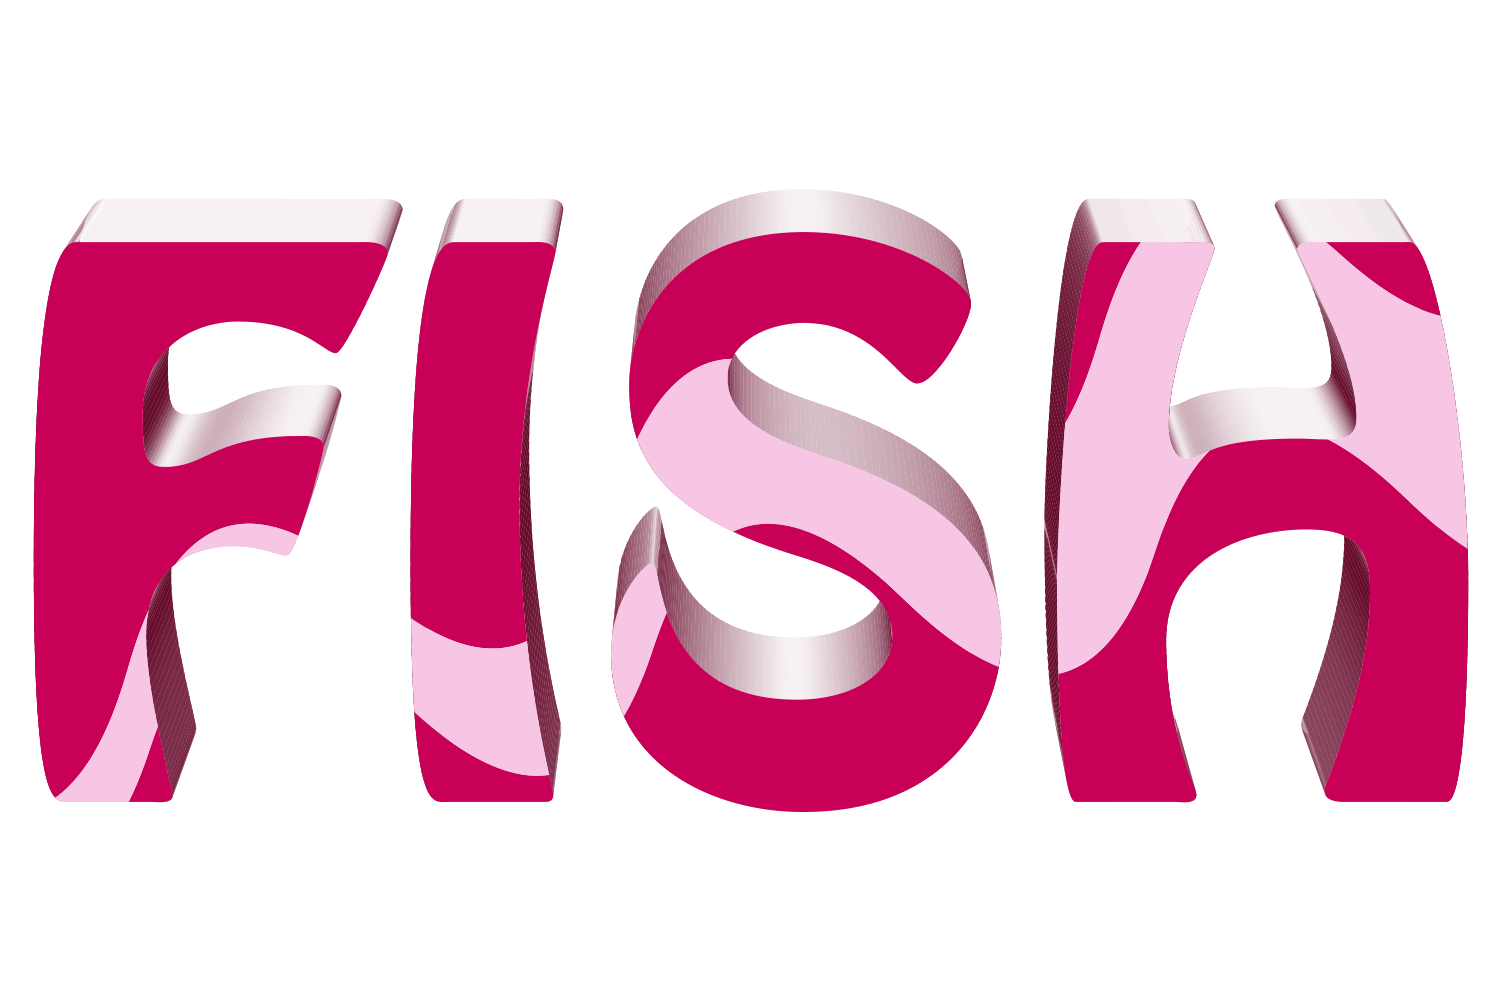
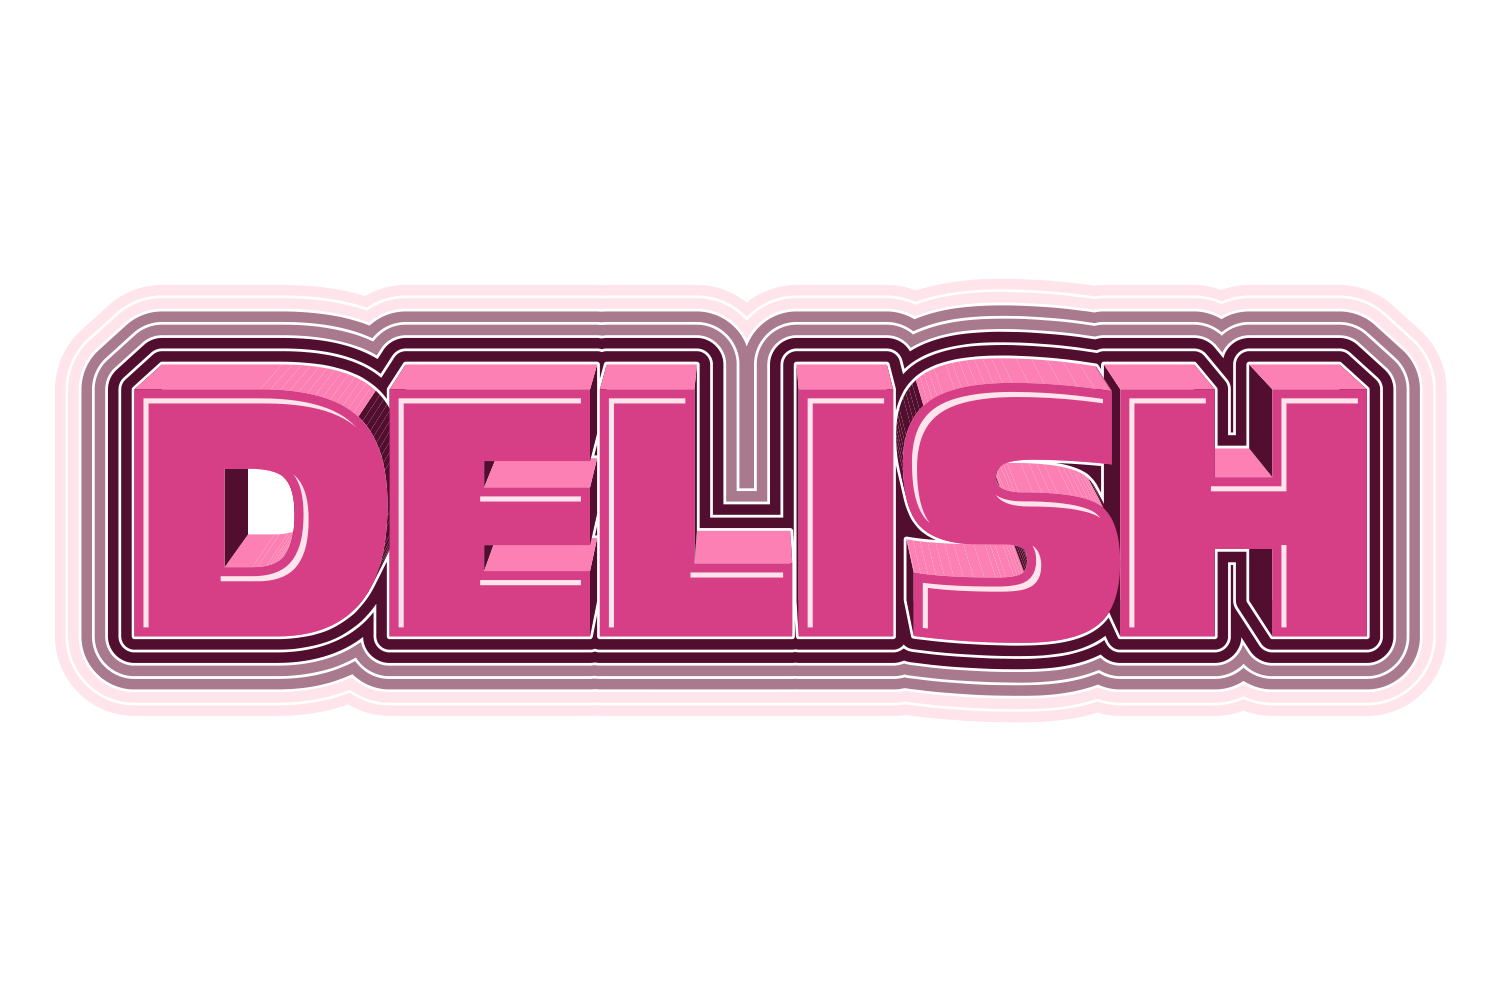
The manual way, in Illustrator
- Pick a heavy display font. Select the text and open Window › Appearance.
- Add a second fill in a darker colour, drag it below the main fill, and apply Effect › Distort & Transform › Transform: a 1 px move with 20–50 copies gives a smooth stacked shadow, a 2–3 pt move with 6–10 copies a visibly stepped one. A long shadow is the same effect with 0.5 px and several hundred copies.
- For stripes, add another fill with a striped pattern swatch, or draw stripes, put the live text above them and make a clipping mask; both keep the text live.
- Add a stroke below everything for a border, and finish with Effect › Texture › Grain at low intensity.
Transform copies are one colour. Pattern fills, clipping masks and Roughen all keep the text live; only Pathfinder cuts on an outlined copy give it up.
Menu paths checked against Adobe's current Illustrator documentation; hands-on verification and screenshots are still to come.
4 effects in JuicyType
Four effects, all live, in the order above. For the laminated look, add extra extrusion layers in the 3D section, each a little wider and alternating colours.
- 3DDepth 20–40 pt, Direction 300°, Slope style Split for the flat offset shadow
- Pattern SliceAngle 0, Density 8, stripes across the face
- Strokesone border band, Rounded 40%
- Halftone EffectsPattern Circle, Density 30, Shade 60 for print texture
Common questions
Which fonts read as retro?
Heavy geometric sans or slab faces, and 70s scripts. The effects do the rest.